Clay Collage Self Portrait
Make a clay collage self portrait!
Medium: Ceramics
Ages: 9+, but younger students can do with the help of an adult
Safety Considerations: If using hot glue gun, adult supervision is needed!
Time: 1-2 hours + a day of drying time
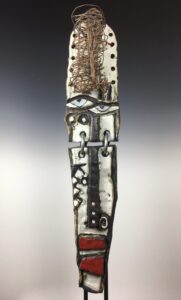
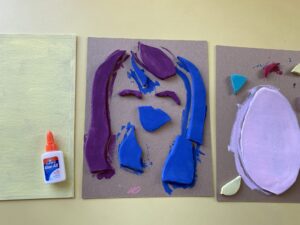
Description: Get inspired by clay artist Kimmy Cantrell, who creates colorful clay collages of faces, personal memories, or political + social commentary. Create your own clay collage that utilizes his theme of imperfection by using simple shapes and asymmetry to depict a self portrait. Think about what is special + unique about you!
Conversation Questions: Journal about, think about or ask each other
- Kimmy Cantrell uses IMPERFECTION to talk about BEAUTY: “He uses ASYMMETRY to challenge traditional definitions of beauty. “I want to show the beauty within flaws,” he explains. “Imperfections tell stories that are far more compelling than perfection.”
- What is beautiful about you?
- What are you proud of, both inside (personality) and out (appearance)?
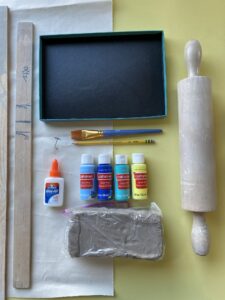
Supplies:
- Air-dry clay
- Rolling pin
- Pin tool or sharp pencil
- Acrylic paint + paintbrush
- White glue
- Box, frame, or something sturdy (cardboard) to glue your pieces to
- Paper + pencil to plan
Steps:
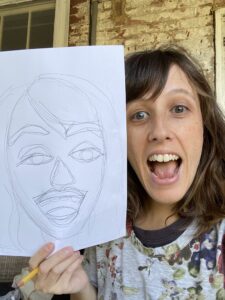
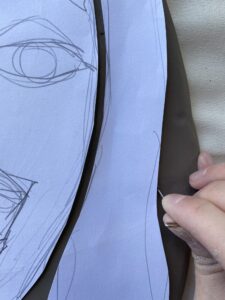
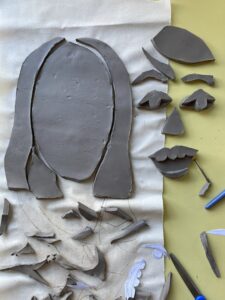
- Think about what you want your clay collage to be. I made mine a self portrait: A picture of myself. I thought about what I like about myself, and that included my sense of humor and laugh (personality) and my smile (appearance). I drew a simple picture of my face using shapes and portraying myself smiling and laughing. This does not have to look perfect. After all, we’re celebrating imperfection like Kimmy Cantrell does with his artwork!
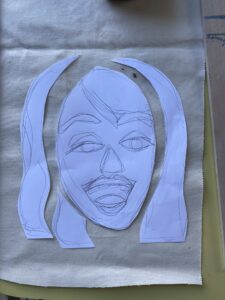
- Cut out the BIG, MAIN shapes of your portrait. We will cut out the details later!
- Begin to roll out your clay. First, I pushed it down into a flat oval with my hands
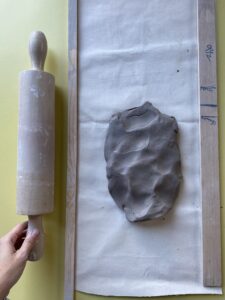 .
. - Then, grab your rolling pin and begin to roll out the clay. I’m using two sticks on either side so my clay slab is an even thickness. You do not have to do this, but you do want to make sure your slab is not too thick and not too thin. About 3/8” is good. You can estimate!

- Continue rolling until your clay slab is the appropriate thickness. Use those muscles!

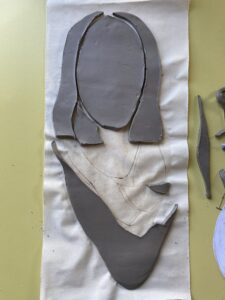
- Take your big shapes and place them into the corners of your clay- you want to conserve the clay so you have enough space to cut out all your details.
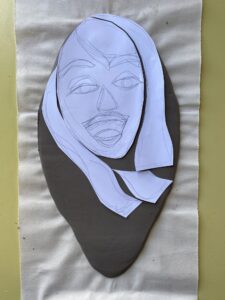
- Use a pin tool or other similar object to trace around your pieces and cut them out.
- You can arrange your pieces as you go.
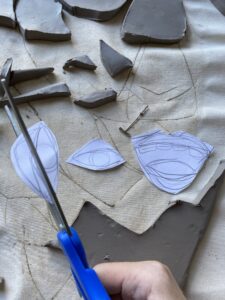
- Cut out the next biggest details. In my case, this is the entire mouth and eyes.

- Place them on the rest of the clay, and keep conserving space, because you may have more details you need to cut! Use the pin tool to cut them out.
- Cut your last details out. You probably only want 3 layers of clay, so I would cut everything you need out at this point.
- Cut out your last details from the clay slab.
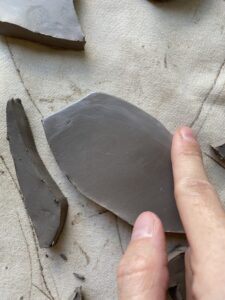
- You can use your finger and a small amount of water to smooth all your edges.
- You can arrange everything so you don’t forget which pieces go where. Place your pieces to the side to dry. Make sure they are in a single layer, not stacked. Drying will take 24 hours or longer if it’s humid. If your pieces start to curl, you can flip them over which can help. If they break, that’s okay! We will just glue them all together later. Imperfection is what we’re going for!
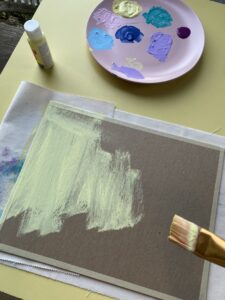
- Paint your background
- After they have dried completely, paint your pieces
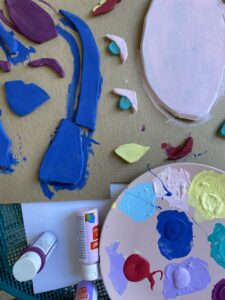
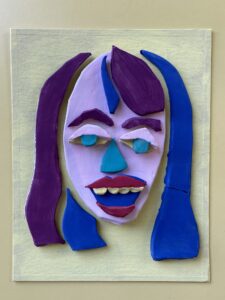
- Arrange your pieces and get your white glue ready
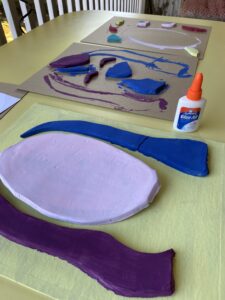
- Glue down your pieces, layer by layer. White glue dries clear, so it’s best to use a healthy amount!